Showing posts with label organization. Show all posts

Thursday, July 24, 2014

How I Store My Finished Cards

Hi Guys!
I wanted to do a quick post on how I store my finished cards.
I love stamping and try to do it as often as possible. 
Sometimes that means a card a day and the great thing is I always have plenty of cards on hand when I need one.
This could be a bit of an organizational nightmare to have so many cards and trying to find that perfect one when it's time to send someone a card or attach one to a gift.
But with a little organizing it's a dream come true.
 I bought this plastic box from Target a year ago and it is the perfect size for my handmade cards.
The dividers are made of So Saffron card stock and some DSP cropped with the Labels Collection Framelits and then cut in half. 
I used my label maker with clear label tape to label the dividers and stapled it onto the card stock.
 After I make a card it goes behind the right divider and is ready to go! I keep most of my envelopes in a matching basket that sits on a shelf right next to this one. If I make a hand made envelope or one lined with pretty DSP to coordinate with a card I'll then put it in with the cards.
I find it is easier to flip through cards and not have extra envelopes get in the way. 

And that's how I organize my finished cards!
Hope you find this helpful!

Happy Stamping!

Tuesday, October 22, 2013

Keeping Our Entry Clutter Free

Hi Everyone!
Are you like me and HATE a messy entryway? 
Especially when your entryway is completely open to the living room?
Yeah, it's a known fact around here that I don't like clutter and piles and I have been know to get really cranky at times (especially late at night when I'm really tired and should be in bed) about piles and chaos. hehe
This past January I made a goal to work on organizing our home throughout the whole year and try try try to make it function better with the way we live and use spaces.
I can happily say we've made really good progress with that goal. It will be a never ending goal since as our children grow and we change we will need to tweak things but getting inital systems in place hopefully will help with future tweaking.

So onto our entryway....
 In order to help define an entry, we used a dresser to help keep us organized.
 Each  drawer has a purpose and is labeled. 
Yep, I love my label maker and have found that labels really help keep us all on the same page about what belongs and what doesn't belong. I can guarantee without things labeled, every drawer would become a typical junk drawer.
Our dailies drawer has little plastic bins (from Container Store) to further keep things such as sunglasses, glasses, store discount cards, and change sorted. We use this drawer the most when we are coming and going.
Another drawer holds camera gear such a battery chargers, cords, manuals, etc. It makes it so much easier to grab the battery charger or a specific cord when we know exactly where to find it.

Next comes a drawer for my Silhouette. It holds all of my e-cutter media and the machine itself. I use my Silhouette at our new laptop desk that sits in a cozy corner of the living room so having this stuff nearby works best for me! It's not at all an entryway type of item but again, this is a system that works for us and how we live and use our spaces. :)
And the last drawer wears two hats. 
One half holds my knitting and/or crocheting projects....
...and the other half is where items that need returning go. It's nice to see that side empty!
Right now both sides are open to each other but I have big plans to add a divider in the near future.
And if we jump back up to the top of the dresser I added a basket for out-going mail. It makes it easy to grab bills and cards on the way out the door and make sure they make it to the mailbox on time!
And as I said in my last post I actually perfer in-coming mail to come straight to the kitchen island to quickly sort out the junk which goes into a shred bin in the pantry/laundry room right off the kitchen and then bills get taken to an armiore also in the kitchen/dining area and get put away where they belong until bill paying day. At the most you will find on the island after that are the flyers with coupons and I'm pretty good at going through those within a day or two and filing them away.
Do you have any rock star tips that keep your entry or landing zone organized? 
I'd love to hear!


Saturday, September 7, 2013

Label Love

Hey Y'all!
I'm just stopping by for a quick shop update and some home organization things that I've been up to.
For many many weeks I've had a few labeling projects in the pantry and in my craft room that I knew needed attention.
Well, I finally go to them! 
I find sometimes the best way to get something crossed off the list when you feel like you are short on time is to just do it! If it is THAT important to you, then make the time. 
With that said, this was important to me. I was tired of sifting through unlabeled jars of this and that to find what I needed. What took a few hours to complete has saved me a lot of time otherwise.

First up the craft room!
(Because craft rooms are just fun and who doesn't love fun?)

 My sweet little dollar store aqua bucket got a label upgrade. When I first labeled my adhesive bucket I had used my label maker with some clear label tape. It wasn't bad but a chalkboard label is so much cuter!
This is my small decorative chalkboard label available in my shop!
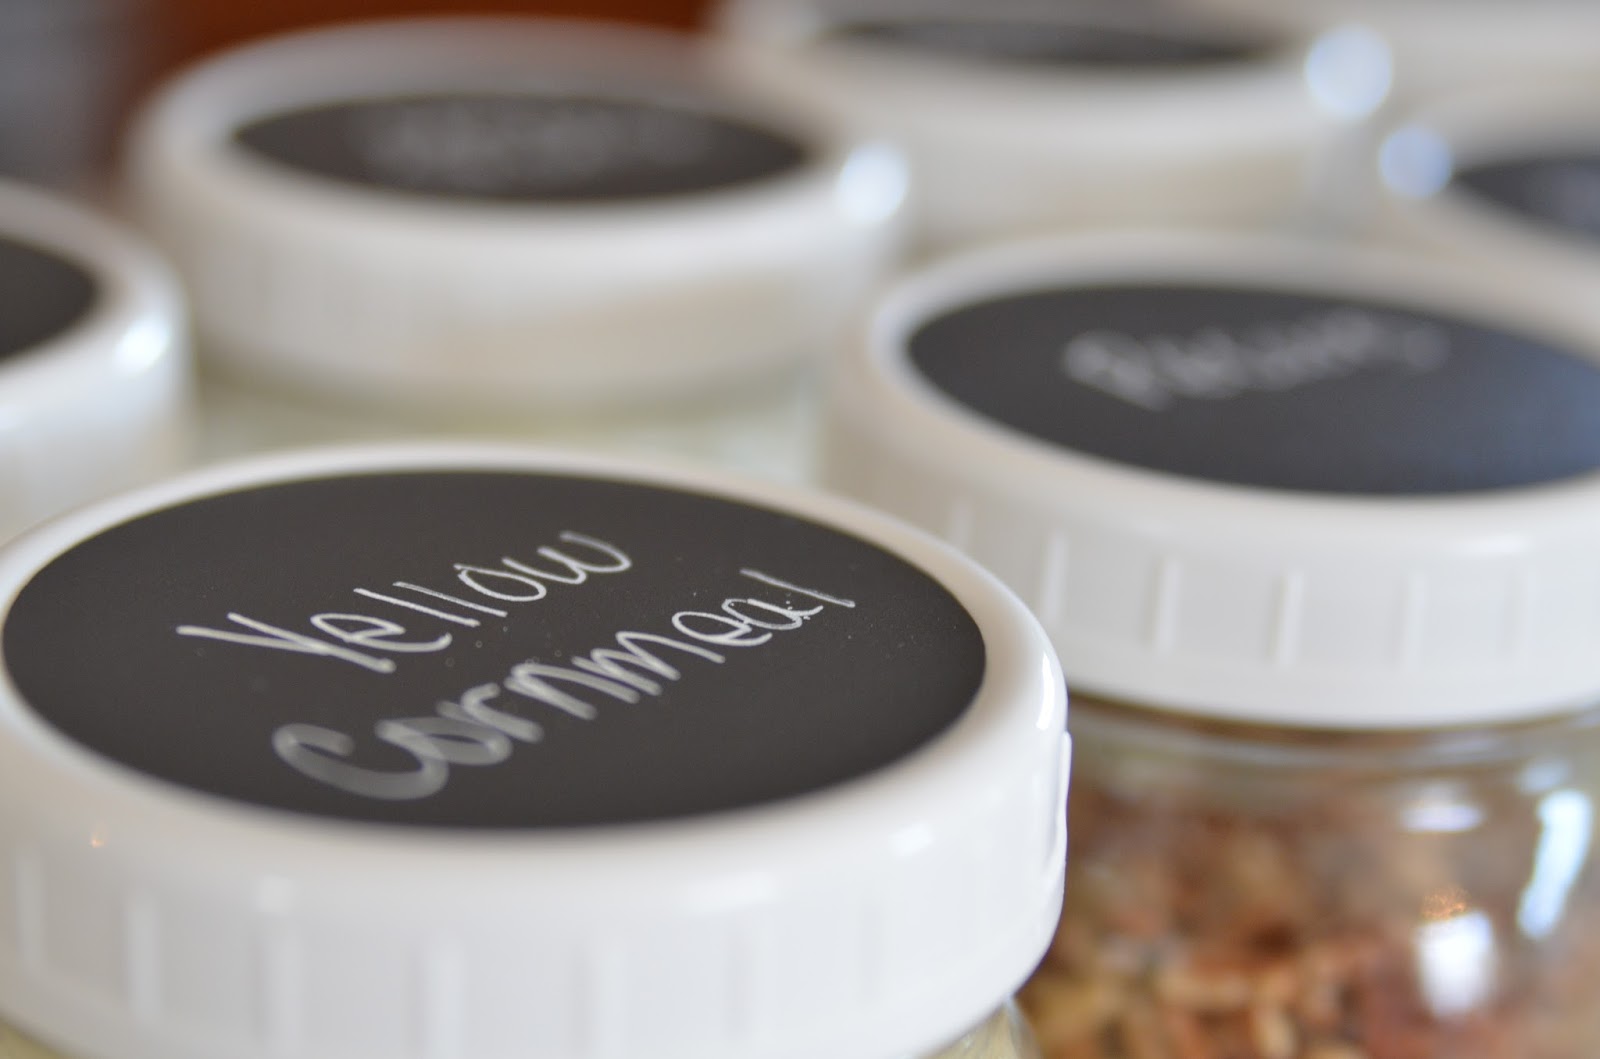
 Next up I added 2" circle chalkboard labels that are a perfect fit on my blue mason jars! 
Chalkboard labels on these mason jars are perfect because they hold all of my little odds and ends. When I use up what is in the jar and want to put something new in it all I have to do is wipe it off and relabel! 
So much easier than making a new label (even on a label maker) every time!


Now onto the panty!
I also added the 2" circle label to this little mason jar.
I'm sort of on a cinnamon sugar kick in my coffee.
(And oops! I got my "o" and "a" switched in cinnamon! Forgive me? I'm human, too!)
This little jar sits by the coffee maker and just looks so darn cute!
 Now for those large mason jars that hold many bags and boxes worth of food items that always end up looking sloppy in the pantry. These are my 3" circle chalkboard labels that are a perfect fit on the wide mouth mason jar lid.
Have you tried the plastic lid for long term storage? I love them. I love not messing with a 2 part lid when I'm cooking. And just like the blue jars in my craft room these labels can be wiped off and quickly relabeled if the contents of the jar change. 
Sometimes I don't have pecans on hand but mixed nuts! We live on the wild side around here! Never know what you will find in our pantry! Ha!

 And last but not least (this isn't anything new) our canisters have a label. I've had these labels in the shop before and they are back again!
I'm using a new brand of vinyl now and LOVE the extra thick quality. 


Happy organizing! 
What have you labeled lately?


Tuesday, April 2, 2013

Bathroom Cabinet Makeover!

Bit by bit this year I'm going through our WHOLE house clearing out the piles and organizing the keepers!
It's gonna take some time but it will be so worth it in the end. 
I've been working hard on my craft room and happy to announce besides a few loose ends to tie up (lining the back of a cabinet, etc) it's basically done! This past weekend, I realized that it was actually pretty much finished! So after I tie up those loose ends, I promise to share what I did and what I learned along the way. I've got some good tips!

Now, onto the bathroom. 
We have 1 smallish bathroom cabinet above the toilet in our bathroom and no drawer in the sink area. With that being said, things were piling up a little.
First step was to clear out the cabinet and get to work!

Here's the empty cabinet:
And here is all of the STUFF inside:


That is a lot off stuff inside 1 smallish cabinet!
After the cabinet was empty, I measured and made a note about how I wanted to sort and group things and then off to the store I went for baskets.
Here's what I got:
 The hangers are for my husbands ties, pint size laundry baskets for the kiddos and some how some nail polish made it's way into my cart! hmmmm.....
Oh, and the little aqua oval pail ended up in my craft room. It didn't fit in the bathroom cabinet with everything so I put it to good use elsewhere! 
(You will notice a few items not pictured- those were picked up on a different trip out. After filling up what I bought on the first trip I was better able to understand my needs even more!)
Once back in the bathroom, I began filling up the containers, labeling and putting them on their shelves.

 I had this basket from a bathroom spruce up years ago. Some fresh spray paint, sewed up a quick liner with fabric on hand and perfecto!
 Bulk items in lidded containers and labeled.
And this sweet little mason jar tag was quick to make and oh so cute!


Normal counter top items and stuff that usually would go in a drawer (that gets used the most often) got corralled on a cute little tray from Ikea.
 Under the sink got a little love, too! 
(Hubby's side of the sink will get love later. Baskets add up quick!)
Now our bathroom is organized and a relaxing and peaceful place to be. 
I challenge you to do the same. You will be happy with the time well spent!

Thursday, September 27, 2012

Boxes Boxes and More Boxes (oh and just as many index cards)

Every year when Fall and Spring rolls around, it means for us, it is time to go through boxes of hand-me-downs for our little kids, go though boxes of last years clothes for our big kids and see what might still fit AND go through their closets and dressers to see what needs to be put away. With 5 kids this Fall, it was quite a task but we got it done (oh and how good it feels to have it checked off the list!).


This past Saturday afternoon we pulled all of the stored boxes that we needed for everyone and started going through them. We had the kids trying things on to see what fit and making piles all over the kitchen floor and bed rooms of things that didn't fit. And as we went through everything I made a list for everyone...an inventory, if you will! I wrote down how many shirts, pants, pj's, coats, etc that every one had that still fit and then off to the far right of the page made a list of what we needed to buy to fill in the gaps. 

Over the years from the time our first baby was born, we started saving their out grown clothes that were still in good condition knowing that their would be a younger sibling to pass it on to. And over the years, I have tried a few different systems of sorting and organizing clothes- everything from storing them in large bags to boxes but the one thing about my system that never changed (even when their storage container type changed) was how I labeled them. Okay, well, that slightly changed too but I will get into that more in a minute. I have always labeled the containers with the gender and size, for example "Girls Newborn/0-3 months" that way I knew what container to pull when I needed to put something out grown away or find a bigger size for someone.

Now onto our most current system that we are loving and that made this past Saturday so much easier when it came time to start sifting through everyone's clothes.  A few months ago I read a book called Survival of the Busy Woman by Emily Barns. It changed the way we organized every closet in our house, let me tell you! Following the steps in the book, we applied the method to our kids hand-me-down clothes, too. We bought a huge stack of heavy duty bankers boxes at Walmart and started sorting all of our kids clothes into those boxes by gender and size. Once a box was full, it got a nice big easy to read label on one end of the box calling out the gender and size and it got a number along with the location the box was being stored. Once every single last article of clothing was in a box and labeled, I went back with 3"x5" index cards and labeled each card to match a box along with the number that I marked on the box, also. The point of the number and index card is to make it easier to find what you are looking for when the time comes to pull a box. For us, we are able to store all of the boxes at this point in our master bedroom closet so we know that is where they are at. I decided to go ahead a do the numbering and index card step anyways just in case we ever decide to split them up between different closets. This way it is all done and I don't have to go back and do that step later. I should also add since everything else we have in closets that made sense to put in a box also has a number and index card along with the location the box is stored (example Box 1- Photos      Craft Room Closet) I decided to jump up into the 300's and 400's for our boys and girls clothing boxes. We are no where near having that many boxes but figured that way I can keep all of the kids' clothing boxes in their own digits.


So there ya have it! That is how we keep clothes organized. And let me tell ya, it was a lot of work to get everything organized and on index cards but it really did save us a TON of money. All 5 of our kids have very short lists of cool weather clothing that they need. And let me add, they were all super excited to see some of their old favorites come back into rotation that still fit from last year!

Hope everyone is enjoying the cooler temps of Fall!