Last week on a bit of a crafting whim, I decided our couch needed a new pillow. As an avid crafter that meant I already had everything on hand that I would need. Don't ya just love that? I even had a pillow case already sewn up waiting to be prettified.
So while the kids napped/had some quiet time I got to work!
I gathered the essentials first!
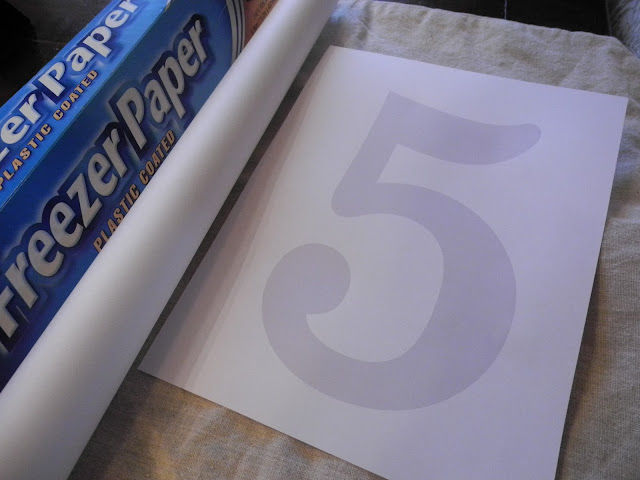
Now onto the pillow...This was my first freezer paper stencil and it was so easy and fun that I know I'll be making more stuff using this technique in the future. To get started I printed a number on the computer sized how I wanted it. Then all you do is cut the number out and trace it to the non-glossy side of freezer paper.
Cut it out of the freezer paper with a craft knife (don't forget the cutting mat- just sayin') and iron it to the pillow- glossy side down. Oh, and don't for get some cardboard and heavy paper or whatever under the number before you start painting. Otherwise the paint will go through the fabric and onto the back of the pillow and that wouldn't be very pretty!
I grabbed some black paint from our garage. It wasn't even craft paint! It was left over from our dresser-to- TV console DIY project (a post will come eventually once I get the top of the console decorated!).
Then very carefully pull off the freezer paper while the paint is still slightly wet.
Admire your hard work while the paint dries!
Slip a pillow in the case and DONE! Told ya it was easy!
I love our new pillow! I love our cozy "wintery" living room! Love it, love it, love it!
What have you been up to lately?


Um . . WOW!! This turned out SO GOOD! I am so surprised how crisp your lines turned out! I just may need to try this one missy. Wish I had the pillow case already sewn . . . it may take me a few years to get to this project. :) Happy Friday!!
ReplyDelete