Showing posts with label Creative Challenge Club. Show all posts

Tuesday, August 12, 2014

Feather Card and CCC08

I have a bright and happy card for this weeks Creative Challenge Club!
Feathers are so popular in card making right now and I'm so glad I joined in on the trend.
Here's our sketch for the week:
This sketch is so clean and simple and I love it! I had so much fun coming up with my card and love how it turned out.

I knew when I saw the sketch that I wanted to use the "Life Doesn't Have To Be Perfect To Be Wonderful" stamp by Stampin' Up! I haven't used it yet and just knew it would be a perfect fit for this challenge.

I used a circle punch to crop the feather shapes, scored a line down the middle and then used my paper snips to turn the simple shape into a feather! 
I thought I was being so clever at first by using my fringe scissors but they didn't work as I had hoped for this. Just so ya know!
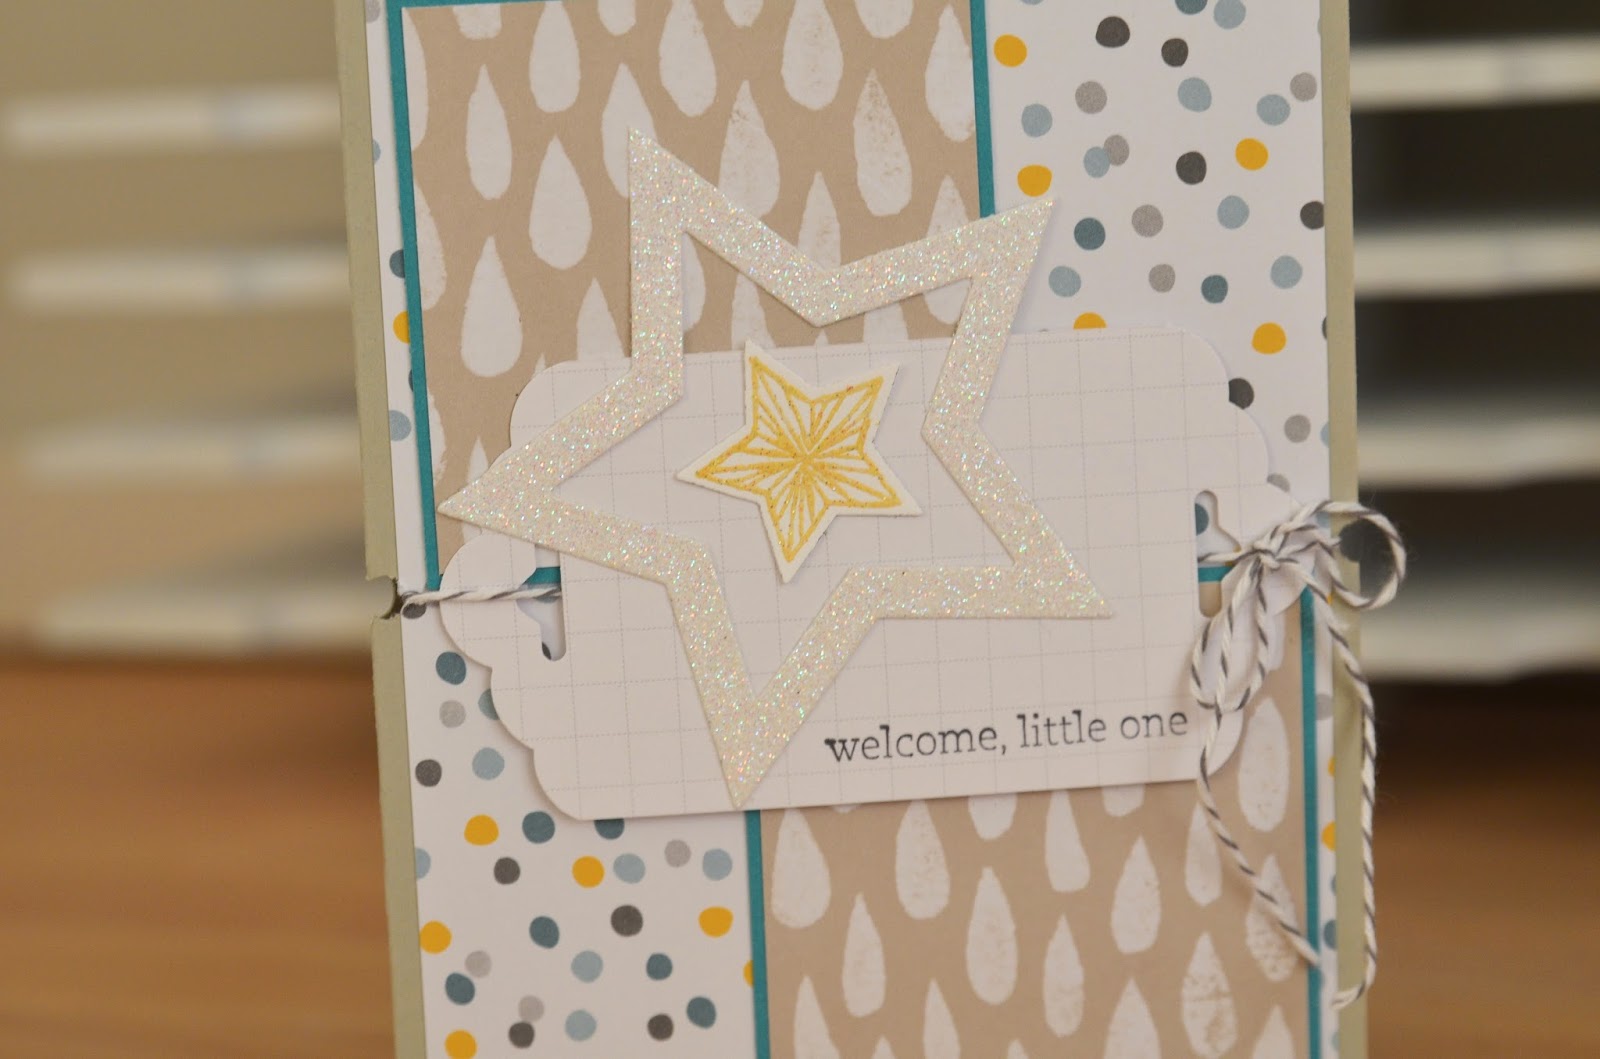
The inside of this card even got a little attention. I love stamping on the insides of my card and this was no exception. It got a great big star stamp AND a stamped and die cut start layered over as well. I have this thing about doing things in odd numbers but broke my rule with the stars. For some reason 2 stars seemed perfect and 3 would-have could-have been too much!

To finished it off I made a custom envelope with my envelope punch board, added a little washi tape action to the front and already know who this card is going to!
Hope it brightens their day!

Don't forget to upload your cards to the Creative Challenge Club (like at the top). They do a prize when they have 20 or more entries!

Happy Stampin'!


Saturday, August 9, 2014

CCC07 and AWESOMENESS


 This weeks challenge was another color challenge.
Let me just say this wasn't a combination I would have picked. I guess it's what makes a "challenge" a challenge. It's good to be stretched a little every now and again.

And now for my card:
I do love how all of the colors, elements and textures look and work together. 
When stamping the leaves for this flower I so badly wanted to cheat and add in an extra color. How else would I get a two-tone leaf without an extra color? 
I'm happy to report I didn't have to cheat when I remembered the stamping off technique. 
If you are new to stamping or never heard of this it is really simple.
Ink up your stamp, stamp off on scratch paper and then stamp onto your card. It produces a lighter shade of the ink color. 
On top of the lighter shade of ink I stamped the Pear Pizzaz without stamping off. 

Isn't the texture AWESOME looking on the Wistera Wonder (bottom layer) layer of my flower? I don't have a full size pad (or ink spot for that matter) of Wistera Wonder but happened to pick up a maker from the clearance rack in my last order. I colored the back of the stamp scribbling the ink on, stamped onto my paper and this is what I got! I love it! Wish I could say I knew it would come out that way! 

That's about it!

Happy Stamping!!!

Tuesday, July 29, 2014

Celebration Card and CCCO6

It's crazy to think that I've been doing these fun challenges for 6 weeks now.
Seriously, where does the time go? 
I guess time really does fly when you are having fun. :)
Sorry, that was corny.

This week we were given a color challenge instead of a sketch!
So fun!
Basic Black, Bermuda Bay and Crushed Curry! What awesome colors to play around with. 
I'm an aqua/teal kind of girl so I love bermuda bay and I just can't get enough of crushed curry. And adding black grounds things and adds a modern touch. In my opinion, at least!
 I saw this card idea in the new Stampin' Up! catalog and thought it was so fun. Imagine receiving this in the mail. I know it would make me giggle and smile and even throw a little bit of the confetti in the air....knowing that "Martha" our iRobot can clean it up for me, of course. Ha!
 This card is so simple. I cut whisper white card stock at 4.25"x11 and scored at 5.5" for my card base. Stamped "celebration" from the Project Life by Stampin Up! set in the three challenge colors and then made up a little baggie of confetti.  
To make the baggie I used a cello bag from a past My Paper Pumpkin by Stampin' Up! and sewed two new side seams to make it smaller. (I tried using snail but you could see it through the bag and it didn't look very good. Multipurpose glue (the white bottle with green lids) might work but I didn't try it out.) I then filled the baggie with confetti cut from the challenge colors using my favorite fringe scissors, closed it up with some wash tape (another Project life item) and attached it to the card base using glue dots.

Give it a try! 
Happy Stamping!

Wednesday, July 23, 2014

Welcome, Little One and CCC05

It's time for another Creative Challenge Club sketch!
These have been so much fun.
I think what I love the most about using a pre-designed sketch is that the overall layout design has been done for me and I get to sit down and have fun flipping through my paper, stamps and embellishments. I'm normally stamping during nap time or at the end of the day and a bit tired so using a sketch is very relaxing mindless work allowing me to spend more time on the rest of the card design.
Here's sketch CCC05:
And here's what I came up with!
Before I got started I flipped through my box of cards to see if there was any occasion that I was getting low on. Baby boy cards were needed so that is what I did! 
My next step was to flip through my DSP and pick out what I wanted to use. I came across this paper from the Moonlight Designer Series Paper Stack and it screamed baby boy at me. 
After I pick my DSP, then I decide on a card base and other card stock needed for layering pulling colors from the DSP. 
Die cuts, punches, stamps and embellishments are decided on last and then gluing it all together. :)
(I say glue and sometimes that means glue, the multipurpose liquid glue that Stampin' Up! sells, and sometimes I use snail. It all depends on what kind of hold I think I need.)
Tip: Before gluing or taping anything together layer it all up how you think you want it on your card and make sure it all works. It will save you a lot of time having to pull things apart if something doesn't look quite like you thought it would.
 My center is cropped with the scalloped tag punch by Stampin' Up! Trim your paper to 2" wide by whatever length you want and punch BOTH ends to get this fun little shape.

 I am absolutely loving my Star Framelits. The are the best and I use them all the time.
Now I just need someone to have a sweet baby boy!

Happy Stamping!


Tuesday, July 15, 2014

Hello and CCC04 Sketch

I have fantastic cards for you today featuring layers of beautiful flowers.
The stamps are from the Flower Patch bundle and I must stay it is an all time favorite set! 
I love photopolymer stamps and I love stamps with with dies or punches that make it oh so easy to perfectly cut them out.
Here's this weeks sketch:

And here are the TWO cards I made!!

 I love the bold colors and graphics on these cards. 
This one features the Sweet Taffy DSP and Back To Black DSP on Old Olive card stock.
 I love the red, purple, yellow green and black together. 
 And after giving it much thought and playing around with different ideas for greetings I decided the "hello" was all it needed. I played around with tucking it under the flowers but it just didn't work so in the end I wrapped the banner with wisteria wonder bakers twine. 
Just what it needed!
And did you notice the fringe? 
I mentioned a several post back how happy I was that I added the fringe scissors to a previous order and I'm still just as happy! I love the texture and FUN that it adds to the card.
As I was flipping though my DSP I saw these big bold polka dots and just couldn't decided between the purple or yellow...So I didn't decide! I made TWO!

There's not much to add about this card since it is basically the same as the first card. 
The large polk dot background is from the Flower Pot DSP, I used the same Back to Black DSP as on the first card and on this one I had used a scrap of the large purple polka dot as on the first card for the fringe until I had a major glue mishap!
As in glue oozing out from under the fringe and when I tried to clean it up I ended up tearing the fringe. After carefully taking the layers apart I added this smaller polk dot instead. It's all layered on garden green card stock.
It was touch and go for a while but it all worked out!

Happy Stamping!


Friday, July 4, 2014

Creative Challenge Club

Good Morning!
Have you ever created a card from a sketch?
It's might just be my new favorite way to approach a card design.
There's a new blog in town called Creative Challenge Club who post a sketch each Monday. 
Here's this past Monday's sketch:

And here's what I came up with!

I decided to skip the stars and go with flowers instead and love how it turned out. The cute little bird is retired and I haven't used the set in a while but glad I pulled it back out. 
Isn't he cute?
The reddish orange head was inspired by a bird we had hanging out on our back patio. The kids named him Herman. So cute! 

The DSP is currently in the new Stampin' Up! catalog and so are the flower dies. 
They part of the Flower Patch bundle. The coordinating stamp set was on back order so I just played around with the dies. Fun!
Isn't that fringe awesome? I'm so happy I added the fringe scissors to my last order. What a fun way to add texture.

Thanks for stopping by and Happy Stamping!